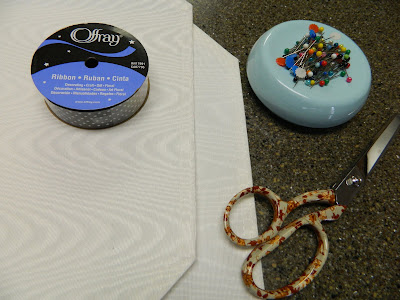
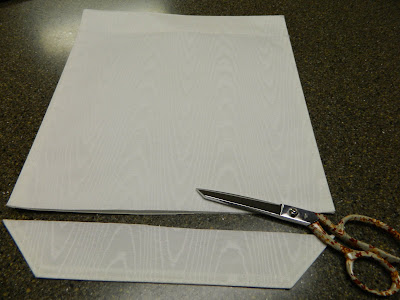
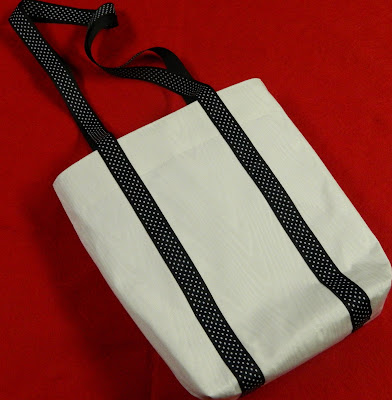
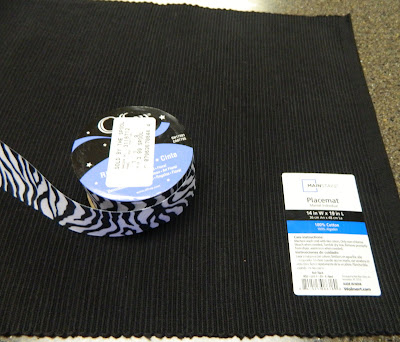
I felt like the first bag I made was going to be more or less an experiment, so I didn’t want to spend a lot of money on it. I used two white place mats that had been put away unused for several years.
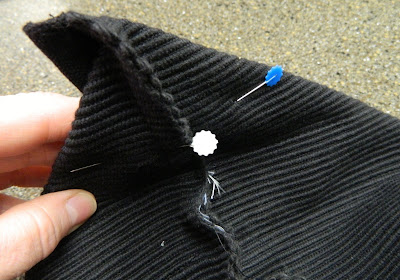
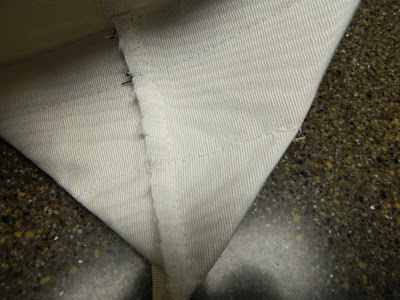
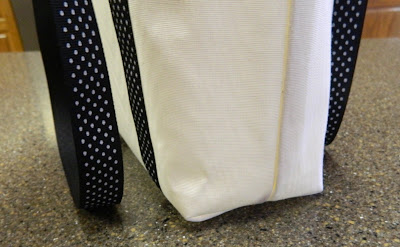
Then pull the bottom seam of the bag even with the side seam and flatten it out forming a triangle. Stitch a seam across this triangle about 2 inches from the point. This will give the bag its shape from the bottom.
And that’s all there is to making a tote bag from place mats and ribbon, so simple I couldn’t believe how fast it was.
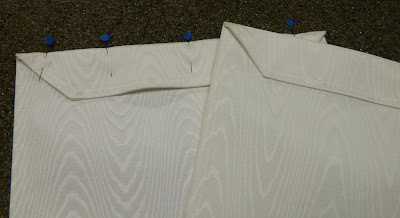
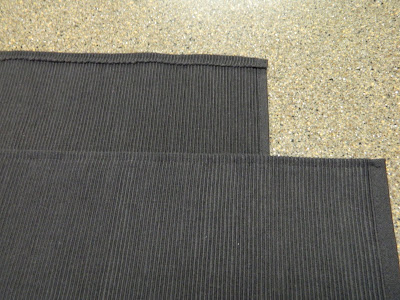
I hemmed the place mats with a small hem across one of the long sides. This will be the top edge of the tote.
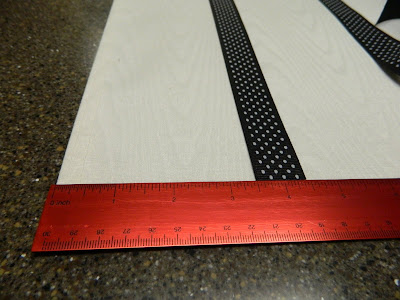
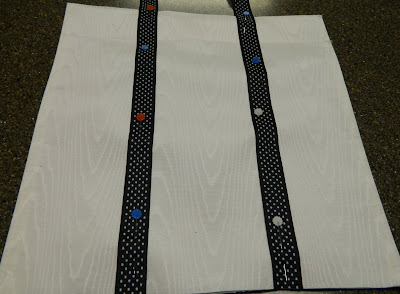
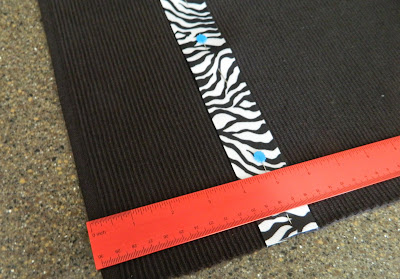
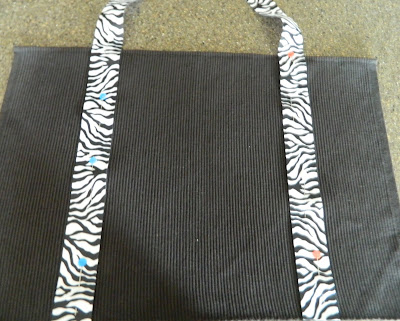
After pinning the ribbon in place, then stitch along each edge of the ribbon. As in the previous tote bag, then place the two parts together with right sides facing each other and stitch across the sides and bottom.
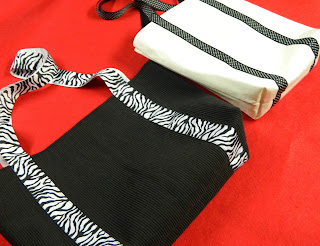
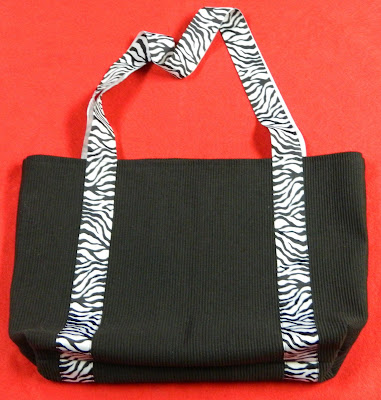
Another tote bag completely finished. The black one is quite a bit larger than the white one. The white one is the perfect size to slip in a couple of magazines and a bottle of water or even a couple of diapers and some wipes. The black bag is the kind you can load up. We took our grandson Landon to the zoo in Memphis today, so I loaded up the black tote bag with my camera, my wallet, keys, hand wipes, makeup bag, and sunglasses to take along.
These tote bags were an easy and fun project. They can be customized in any color combination you like, there are so many choices in ribbon and place mat colors. With summer coming up these would be great to make for taking to the beach too.



Great project, very classy. I'll pin it for future reference.
Cute idea, they turned out great:@)
Great job. I have looked at similar placemats as the black ones. Were they very hard to sew through? I was thinking about doing some machine embroidery, but worried that they might be too rigid.
Beckie in Brentwood, TN
"Sew" cute, Anita!! I will have to give this a try. I love the zebra ribbon that you used on the black one. Great job!!
Another great idea. I'm following you now. I must check the rest of your blog to find some more great tips 🙂
How cute! Thanks for joining the party to show everyone how pretty these bags are. They would be stronger than regular fabric so that's good. Your work looks very neat.——– Shannon
This comment has been removed by the author.
I think this is such a cute and clever idea! I'm sure a lot of us have these items on hand and it is the time of year when totes are super handy! Thanks for sharing at the Rock 'N Share! I'm sharing it on my Google+1 today.
Oooh, I love totes. These look really easy to do – thanks for the tutorial and thanks for sharing at our party.
I was just thinking the other day how I wanted to get back into doing some sewing and there you go! I have myself a little sewing project. Nothing real time-consuming but aren't they invaluable when you need them! And to be able to pick out your own colors…how fun! You did a great job on them.
Anita, I love this idea and hope to try it. I also enjoy reading your blog.
To make the handles easier to hold on to because ribbon isn't real "beefy", go to your local hardware store, look for clear , pliable, plastic tubing (you see this in hospitals dripping in medicine) it's about 1/2 inch round, cut a piece of for each handle. Easier to hold when carrying your purse.
Thanks, Irene, that sounds like a super idea!